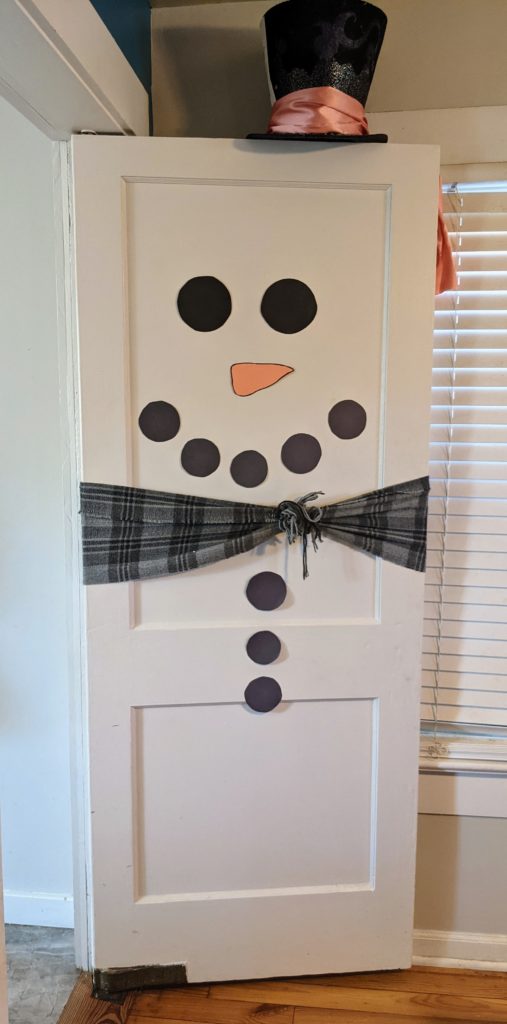
This DIY Snowman Door is simple to create, inexpensive to make, and a fun craft for the kids!
Do you want to build a snowman? I dare you to say that phrase without singing it. We live in Alabama, which means if we want a snowman, we are going to have to get creative! This DIY Snowman Door was fun to create with the kids and adds a bit of extra cheer to our home.
I found this idea on Pinterest a few years ago, and have adapted him to my own liking. If you have kids at home, then you probably already have all of the supplies you need. This looks best on a white door, but if you don’t have a white door in your home, you could use butcher paper to cover the door first and get the same effect.
This is super simple to do, and you can make it a family Christmas activity by involving your kids or grandkids. We home school, but even on our Christmas break, I scramble to keep my kids occupied without overstimulating them with too much media. One activity planned, a thousand to go!
DIY Snowman Door Craft

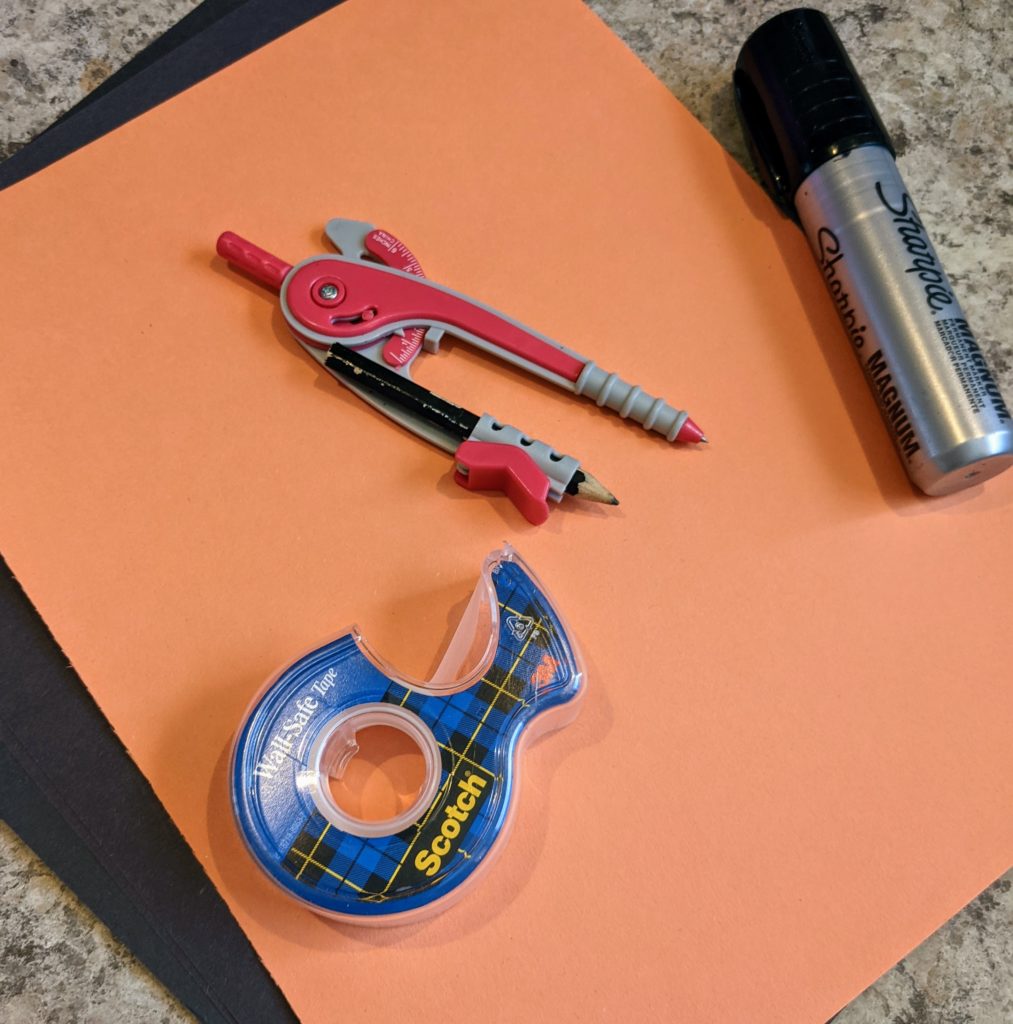
- Black construction paper (3 sheets)
- Orange construction paper (one sheet)
- A compass for drawing circles (or an upside down drinking glass that you can trace around)
- Scissors
- A scarf
- An optional top hat (or you can make one out of construction paper)
- Wall safe tape or sticky tack
Make two big circles for the eyes, and eight smaller circles for the mouth and buttons on your black construction paper. Using the compass, you can adjust the width to create larger or smaller circles.
Draw your “carrot” nose and cut out all of your pieces. Tape them to the door and tie your scarf around him. The more festive scarf, the better! Add your hat. Thankfully, we had a big top hat that we had made for a Mad Hatter costume that worked perfectly for Frosty. Click here to see the process!

So simple and so fun! I hope you enjoy him all season long!
You may also like DIY Christmas Hostess Gifts or Bless the U.P.S.
