Here’s an easy tutorial on how to make your own DIY Balloon Garland.
Balloon garlands add lots of colors and can be used to decorate a baby shower, create a photo backdrop, or enhance any kind of party. It’s an easy way to add to a party theme and has become popular party decorations, including birthday party decorations. Here’s some good news! For the first time, you can make your own balloon garland the inexpensive way with a variety of colors, different sizes of balloons, your own color scheme, and all according to your own personal preference.
The beauty of an easy DIY balloon garland is it is completely customizable. If you have a color palette you are using, then you can have matching easy balloon garlands. You can use different size balloons, bigger balloons, a variety of balloon colors, a color pattern, or metallic balloons. A simple balloon garland is the easiest way to make a big impact. It adds the wow factor. Let’s take it step by step!
A Friends TV Show Themed Party 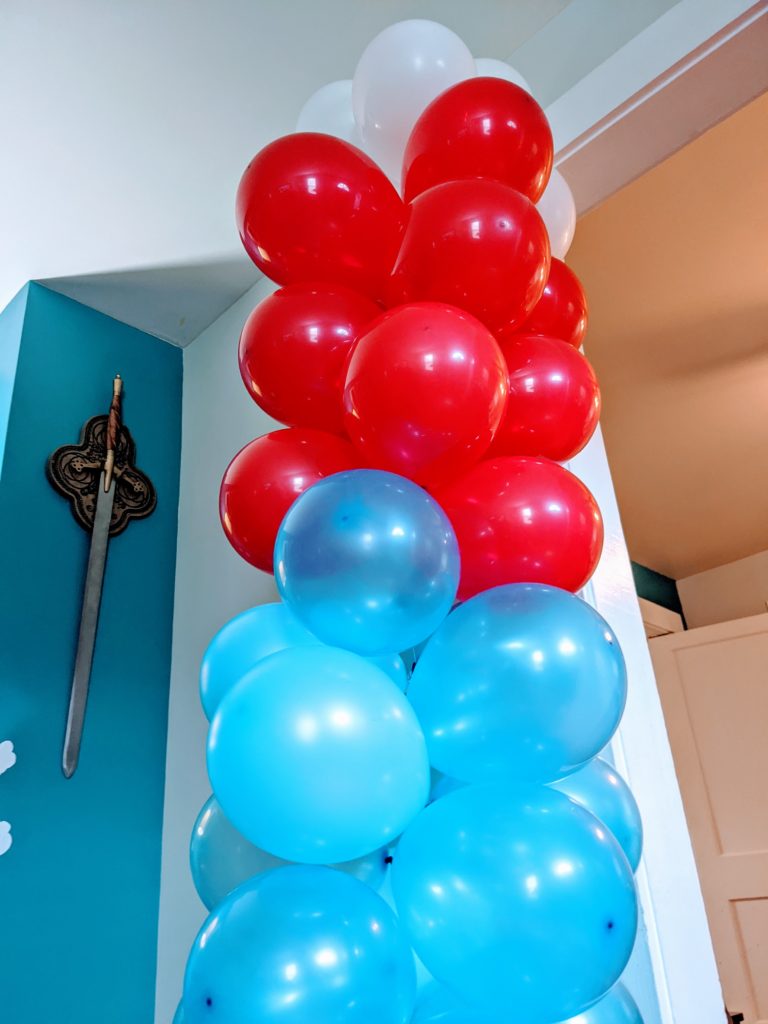
A Mario Party 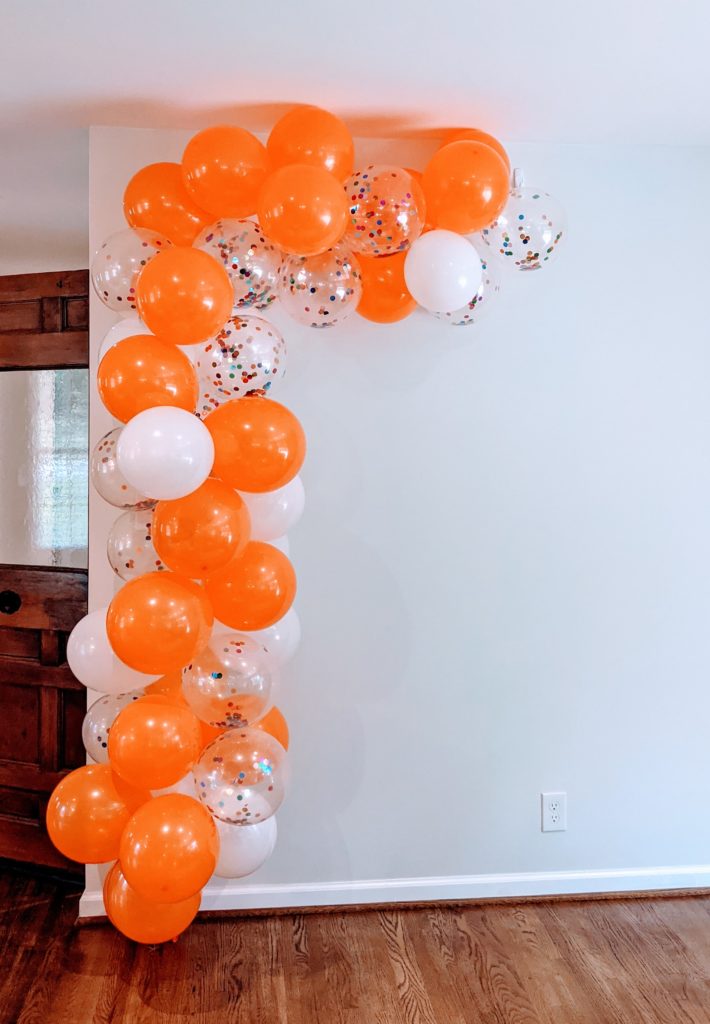
A Bonfire and Brews Party
With this balloon garland tutorial, we will keep it simple by using one size balloon.
How to make your own DIY Balloon Garland
For another example, you can see this blue balloon garland I did for a Dinosaur Tea party. I love the way the colors came together, and this party theme was so fun! Simply the thought of enormous, ferocious dinosaurs attempting to sit at a party and sip tea is so funny.
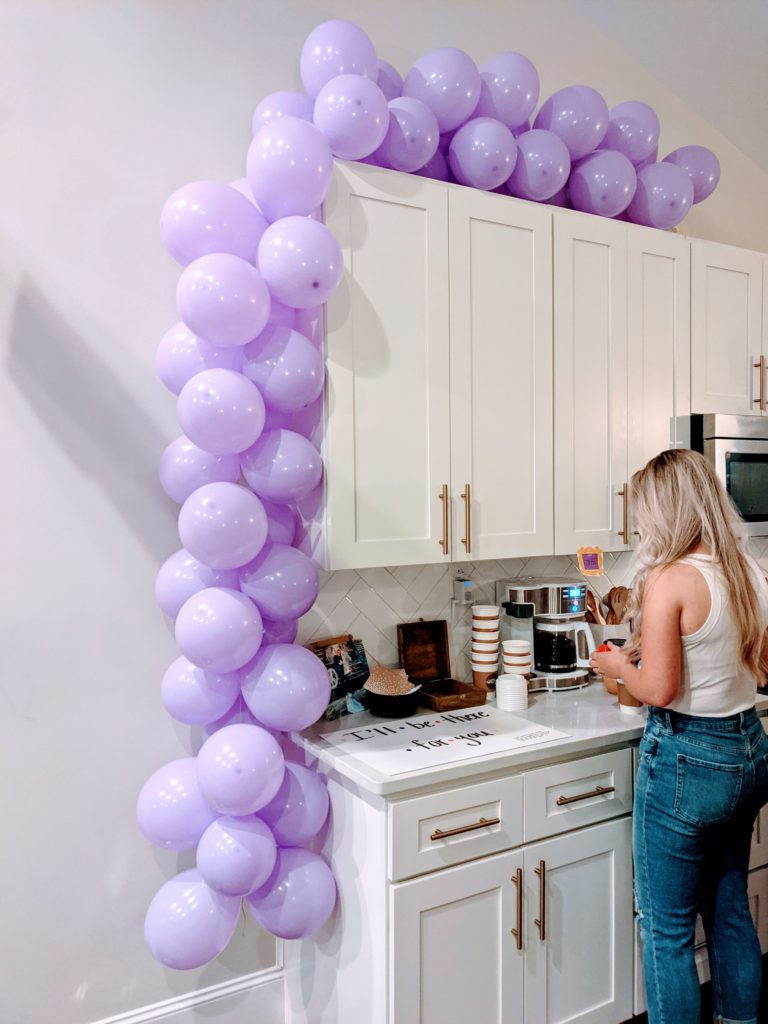
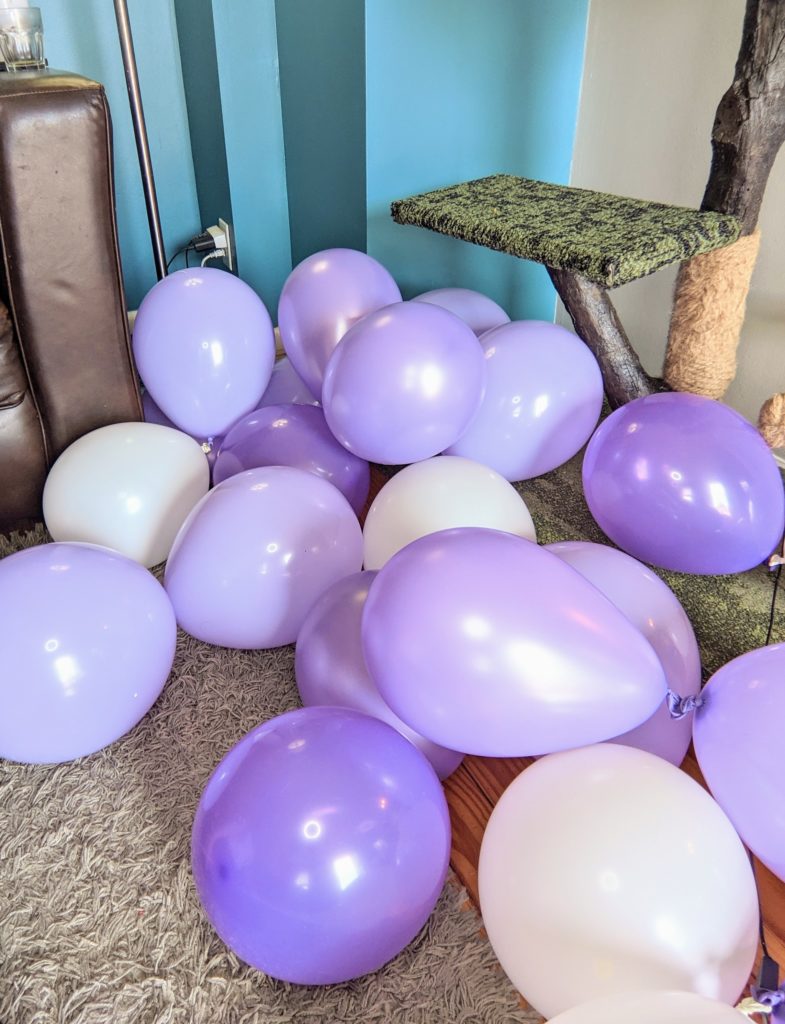
The purple balloon garland was for a Friends TV Show-themed party. Does anybody else love that show? It was my stress relief throughout my college days, and even now is one of my top feel-good shows to watch.
The blue, red, and white garland was for a Super Mario Party, but it would also work great for a Patriotic Party (which could be paired with this patriotic-themed charcuterie board.) I also love that it kind of looks like a Bomb Pop Popsicle! The orange latex balloons, white balloons, and confetti balloons created a gorgeous party garland for a Bonfire and Brews party, and would also work well for any Fall-themed party (or Tennessee Vols fans).
These are all only some of the possibilities you could do. I hope it inspires you to come up with your own balloon garland creations!
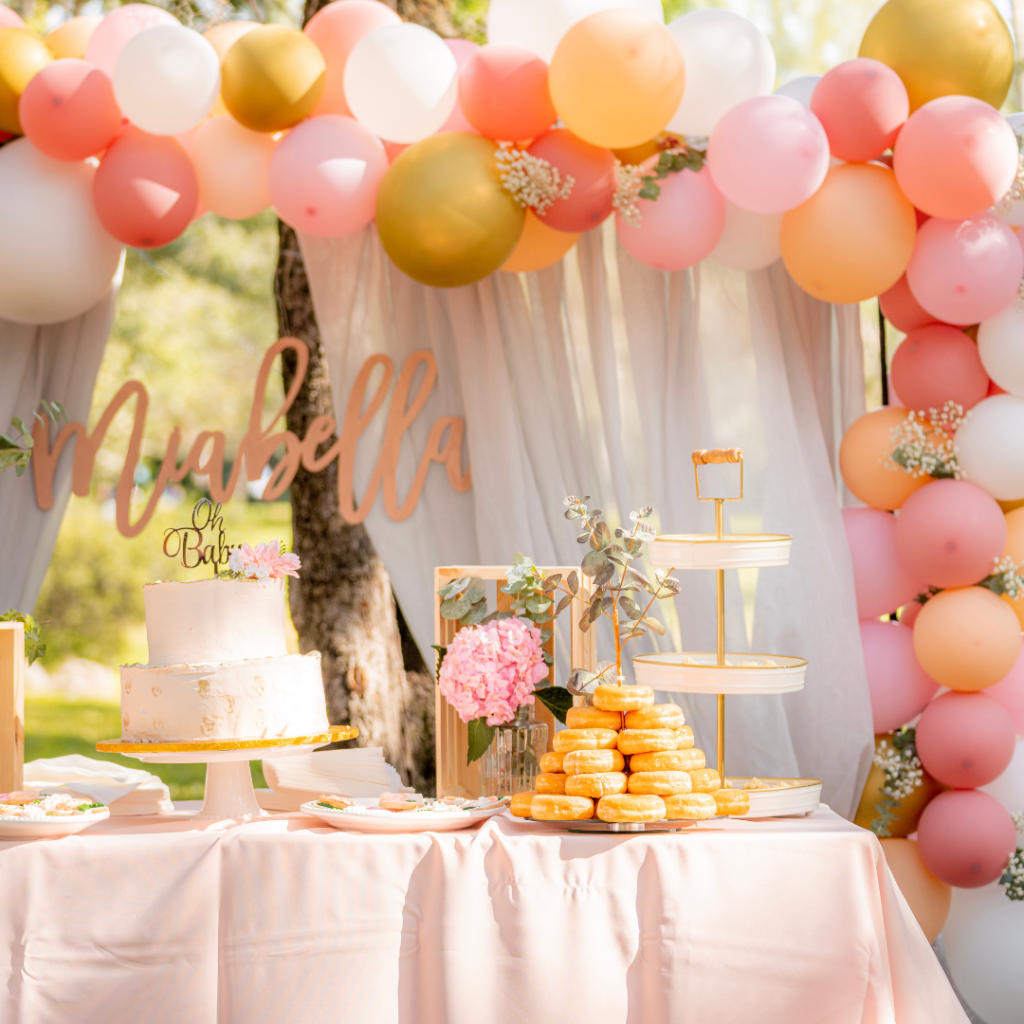
The supplies I will list here will make approximately 8 feet of garland (similar to the pictured ones).
DIY Balloon Garland Kit
- Approximately 50 different colors of balloons you want to use (I typically stick to 3 colors)
- A spool of thread (I use white); you could also use fishing line
- A stapler
- 3M wall mounts (or command strips) to attach to the wall (or thumbtacks if you don’t mind holes)
- Hot glue gun (if you want to add small balloons in the garland) I did not do this for the garlands pictured.
- Optional: balloon hand pump or electric balloon pump
Scroll down to see a video of my balloon garland tutorial if you are a visual learner like myself.
If you know you are going to be decorating with these often, you may want to pick up balloon clips. My fingers were quite sore after tying so many balloons. Even a $.99 handheld balloon tying tool from Hobby Lobby would help. The other thing you can do is blow up the balloons over the course of several days. This way you aren’t spending hours blowing up balloons the day of the party. Or grab a couple of friends to help you with this step. A hand pump can also be of use. If you plan to do many balloon garlands or balloon arches, you may want to check into an electric balloon pump. These are actually more inexpensive than I anticipated. Blown-up balloons will stay looking beautiful for a week!
Step 1:
Get your balloons all blown up. Try to keep them around the same size. If you want to add in some smaller balloons to hot glue in later, you can go ahead and blow those up too.
Step 2:

Take the ends of two balloons, and staple them together. Be careful not to staple too close to the filled part or you may pop it. Repeat this until all of your balloons are stapled together. (Keep any small balloons unstapled)
Step 3:
Take your thread and one cluster of your balloons. Leaving about 12 inches of a thread “tail” begin to wrap your thread around the cluster several times. Then tie a knot in it to keep it from coming loose. (See video at the end)
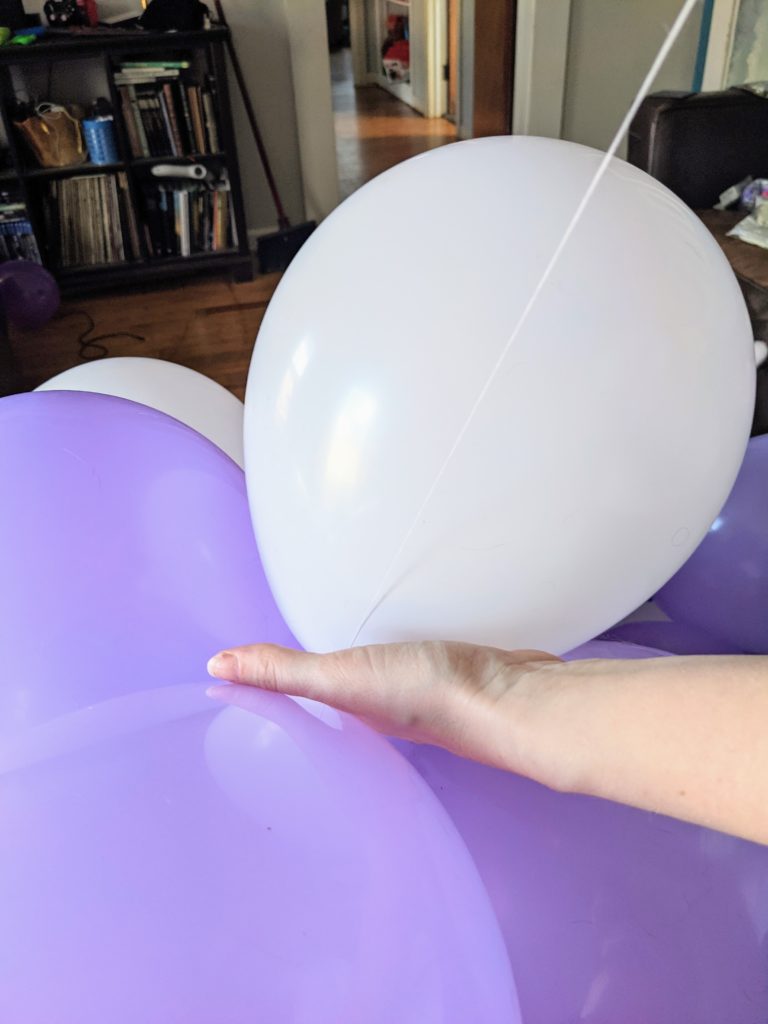
Step 4:
Taking the cluster with the tied thread, add another cluster, laying it diagonally on top of the first cluster, and wrap the thread a couple of times around the new cluster to add it to the garland line. Repeat this with every cluster, laying them close to the other, and wrapping them tightly to the prior cluster.
Step 5:
Time to hang your balloon garland. Take a thread tail, and wrap it around your thumbtack, 3M hook, or use command hooks. Tie it into place. If you want to add some small balloons to your garland, do so once it’s hung in place. (It’s easier to see where they are needed) With your hot glue gun on low, add a small dollop to your balloon, and gently press into place, holding for ten seconds so the glue can harden. To me, balloon glue dots don’t work as well as a low-temperature hot glue gun.
How to Hang Balloon Garland
If you need to shape your garland a certain way or find that it sags in a place it shouldn’t cut approximately two feet of thread from your spool. Tie it around the part of your balloon garland that you need to adjust. Take the other end and secure it to a 3M hook, or you can tape it to the wall using wall-safe tape.
Balloon garlands are a beautiful and cost-effective addition to any party! They are simple to make BUT time-consuming. Plan accordingly so you don’t feel stressed. I hang them the day prior to the party so I can focus on the food the day of.
Post may contain affiliate links
You may also like Copycat Great American Chocolate Chip Cookie Cake or How to Make Salami Roses